Macrame Christmas Tree Pattern – A Fun & Festive DIY Project
How to Make a Macrame Christmas Tree – Pattern Inside
As soon as the festive season starts creeping in, I always get the urge to add a bit of handmade magic to the house — and this macrame Christmas tree is one of my favourite decorations to make.
Whether you’re a macrame pro or you’re just starting out, this little tree is a really lovely project to get stuck into. The pattern is simple to follow, you can leave it minimal or add your own embellishments, and it just looks so cosy and cheerful once it’s up.
If your decorations are starting to feel a bit “samey” or you want something a bit more personal this year, this is such a lovely one to try.

Why Macrame at Christmas?
There’s just something about the soft textures and natural fibres of macrame that make a space feel warmer and more inviting — perfect for Christmas! It adds a handmade touch that’s a bit different from the usual shiny plastic baubles.
Plus, macrame is a really mindful craft. It slows you down and gives you something calm and creative to do in the middle of what can be a pretty hectic time of year. Whether you’re making a one-off tree or turning it into a little tradition with your kids or friends, it’s such a rewarding thing to make.
And bonus — if you’re using recycled cotton cord (like I do), it’s a more sustainable option too.
What You’ll Need
To make your own macrame Christmas tree, here’s what I recommend having on hand:
-
Cotton cord (or jute/hemp for a more rustic feel)
-
Scissors
-
Measuring tape
-
A clipboard or board to knot against
-
Optional: wooden beads, bells, or mini stars if you want to add a bit of extra sparkle

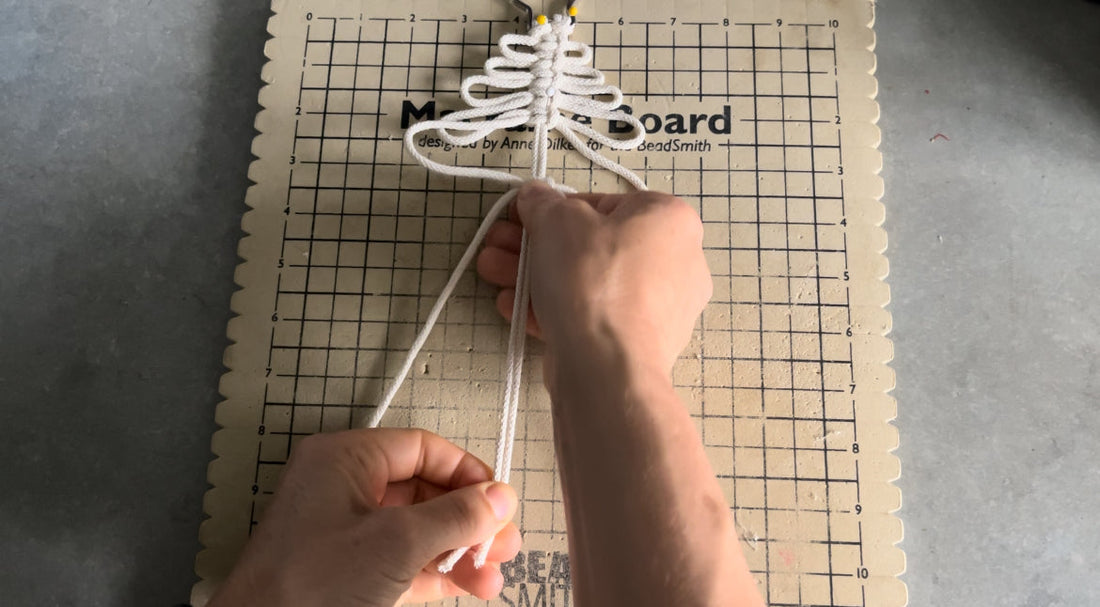
Get the Step-by-Step Guide
I’ve put together a simple, beginner-friendly guide that takes you through the process step by step. You can find the pattern here.
And if you’re feeling extra crafty, I’ve also got tutorials for some other festive favourites like macrame angels, Santas, and fairies on this page — perfect for decorating your tree, gifts, or even as stocking fillers.
Display Ideas
Once your macrame tree is ready, there are so many fun ways to show it off:
-
Hang it on the wall as a mini festive decoration
-
Use it as part of a gallery wall with fairy lights
-
Tie it to a wrapped gift for an extra special touch
-
Pop it on a door or in a hallway to add a bit of festive charm
How to Keep Your Macrame Looking Lovely
To keep your macrame pieces looking fresh year after year:
-
Gently dust them or use a soft brush attachment on your vacuum
-
If needed, spot-clean with a damp cloth and let it air dry
-
Store flat or hang them somewhere safe once the season’s over — try not to fold or squash them
-
Keep them out of direct sunlight to stop fading

Handmade Magic, Year After Year
There’s something really special about filling your home with decorations you’ve made yourself. These macrame Christmas trees aren’t just decorations — they’re little reminders of the time, care, and love you’ve put into your space.
If you do make one, I’d love to see it! Tag me on Instagram @macramadewithloveuk or drop me a message — I always love seeing your creations.
Happy knotting,
Sarah x